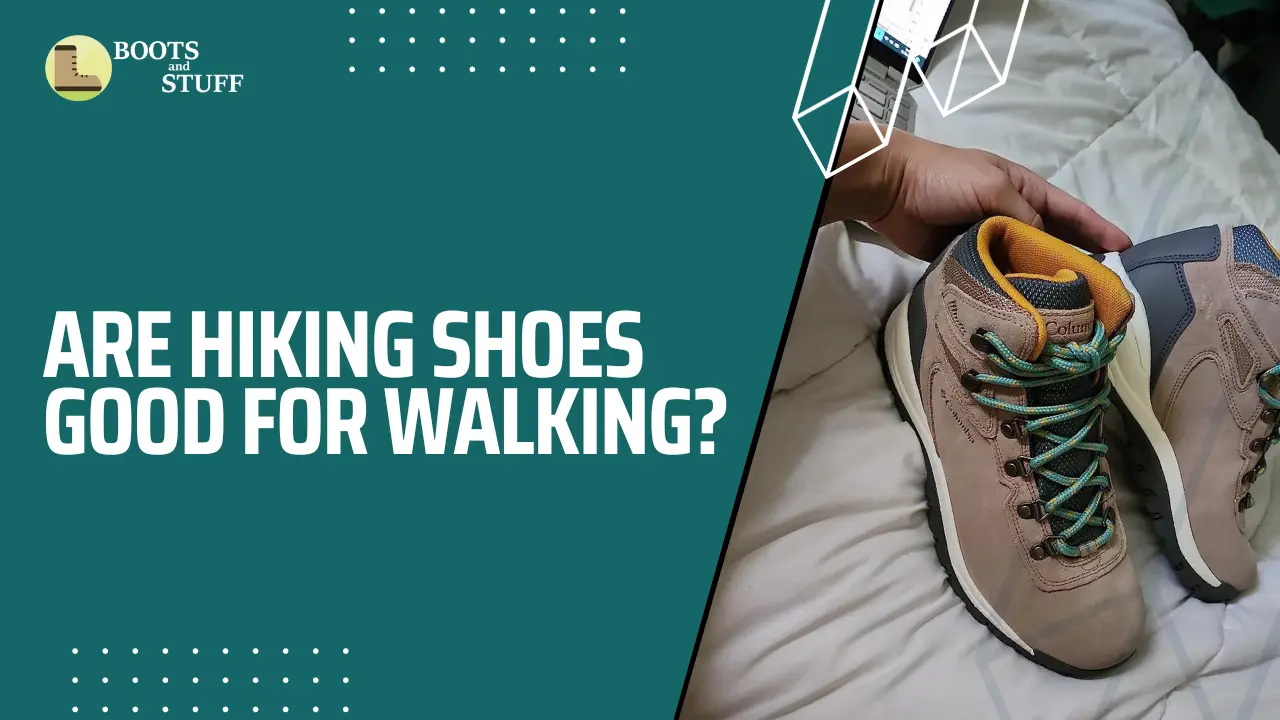
You have recently purchased a new pair of hiking boots for trekking, but you are not comfortable using them. When you wear the boots, they create friction with your feet, resulting in blisters, and you cannot walk properly because of it.
Not only hiking boots, but any new boots, we more or less face this problem after buying them. This problem does not want to go away, even if it fits the foot properly.
Different boots have different breaks in time. If I give you an example, it will become clear to you.
If you purchase mesh-made hiking shoes, these types of boots typically don’t take very much time to break in; on the other hand, if the boots you purchased are made of leather, they will take more time. So, as you know now, break-in time depends on some factors like the material used to manufacture the boot, the stiffness and heaviness of the shoe, etc.
Now here’s an interesting fact: the boot takes longer to break in, yet it is excellent footwear. But why is this so? Please allow me to explain why.
The harder the boots, the longer it takes to break them in properly, and the longer they will endure. Because stiffer and heavier boots are built with higher-quality materials and require more time to break in properly. That’s why if your boots take more time to break in, you can be confident that they will last longer.
In this detailed guide, I’ll show you how to break in your favorite pair of hiking boots in four simple steps. I hope this tutorial will be sufficient for you to properly break them. Let’s have a look at the four most successful steps at just a glance.
Contents
Easy 4-Steps to Break in Your Hiking Boots Faster
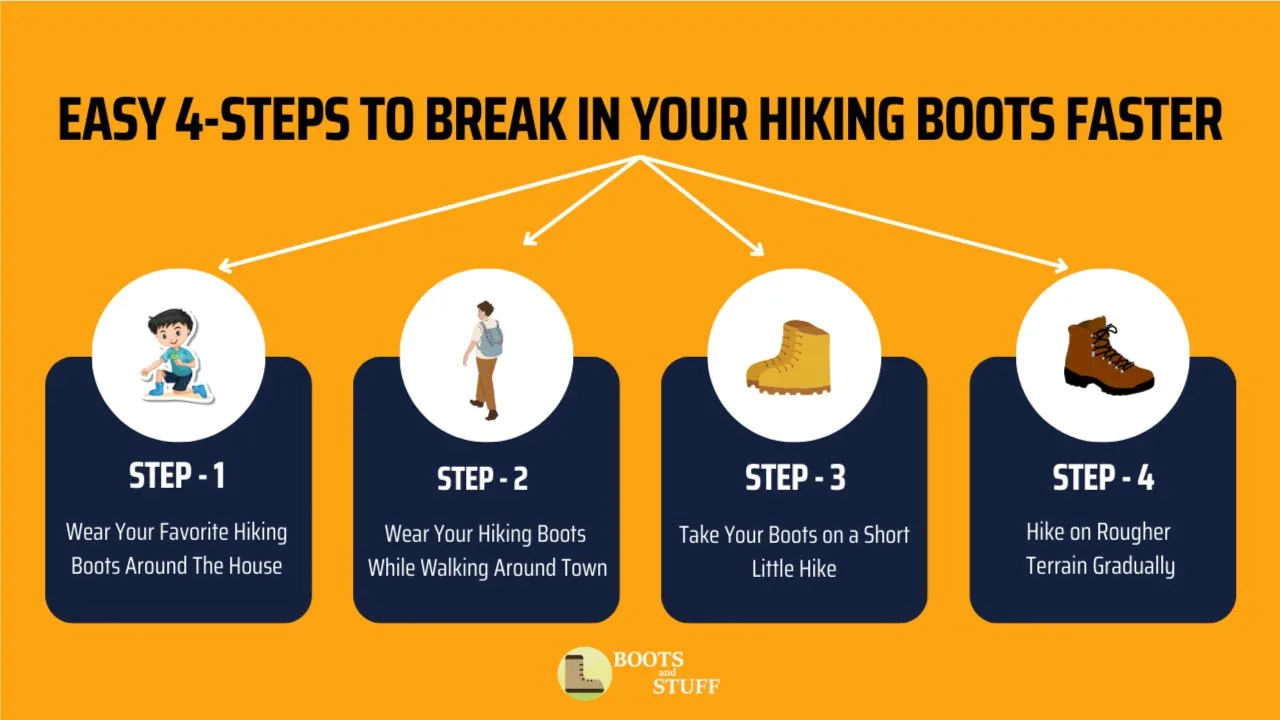
Here are the four most effective steps.
Step 1: Wear Your Favorite Hiking Boots Around The House
Step 2: Wear Your Hiking Boots While Walking Around Town
Step 3: Take Your Boots on a Short Little Hike
Step 4: Hike on Rougher Terrain Gradually
Now I’m going to explain all the steps in detail that you can do yourself to break in your shoes. You can also use these effective steps for any kind of shoe to make it more comfortable to wear.
Step 1: Wear Your Favorite Hiking Boots Around The House
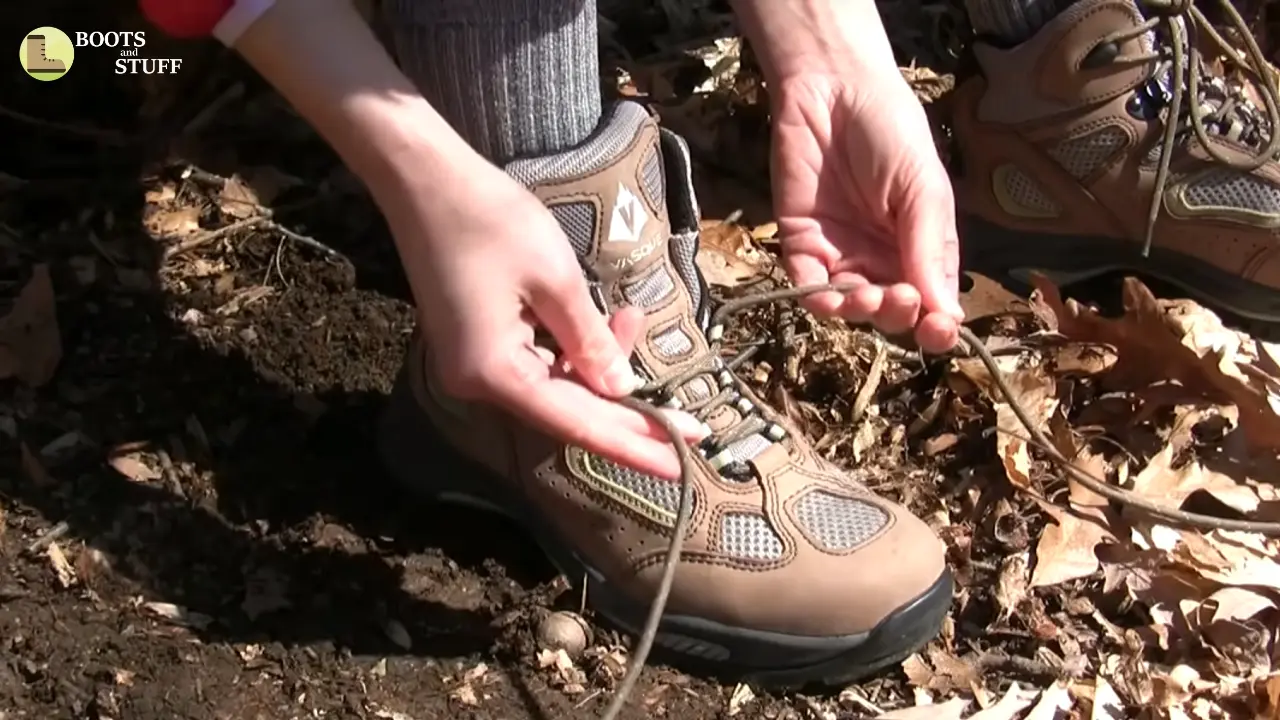
The initial step is to get your feet adjusted to your new boots before embarking on your main hike. And in order to do so, you must wear them at home while going about your daily activities and walks.
Try walking around your house while wearing them. Wear them even if you’re working in the garden. If you’re going out to dinner or lunch, wear them. That means you’ll have to wear them more at home while going about your daily routines.
Please don’t think I’m insane; I’m not! If you wear your hiking shoes for everyday tasks, your feet will gradually adapt to the new shoes. Right?
But before wearing your hiking shoes to your house and going out for your daily activities, you need to complete all of the items specified below with points.
- The insoles you want to wear on your original hike should be added to the hiking boots when you wear them at home.
- Tie the shoelaces, but be careful not to make them too tight.
- Ensure that your boot’s tongues and gussets are straight and placed well.
- Always use the same sock that you want to wear on your real hike.
You can do these tasks for two to three hours per day. That is, you will wear your hiking boots at home and work for at least three hours per day. Do this for at least five days or a week, and you will see that your feet have adjusted comfortably to them. Your feet may feel pinched after wearing the boots. If so, that’s normal, and you can tie your shoes a little differently to avoid it. But make sure that the lacing is snug, that is, not too loose or too tight.
Step 2: Wear Your Hiking Boots While Walking Around Town

The process of getting your feet used to a new pair of footwear is complete. But this is not enough to achieve perfect comfortability. Now I’ll walk you through the second step. This phase necessitates walking around the town and putting on your hiking footwear. When you are going to the store or band, don’t forget to wear them. Going to school or the office? Put them on. Walk and do your daily job without any hesitation. Keep in mind that we have only one goal: to break them properly before going on the real hike.
This step is essential because walking around town, school, or your job place wearing the boots will provide your new shoes with an additional opportunity to break in properly. After a few days, you will notice that your new hiking boots are more pleasant. As you wear your hiking socks with the new insoles (if you have additional insoles), you will find that those are also comfortable for your feet.
This simple phase will help you a lot to break in your shoes faster. If you walk an extra mile every day with your new hiking shoes, this will make them more comfortable for your feet. So, simply put on your shoes and stroll around your block.
Doing this will pretty much kill two birds with one stone. You’ll also get exercise by walking every day, and your shoes will also conform to your feet.
After doing these, if you find your shoes are in good condition and you are not experiencing any uncomfortable issues, we will move on to step three.
Step 3: Take Your Boots on a Short Little Hike
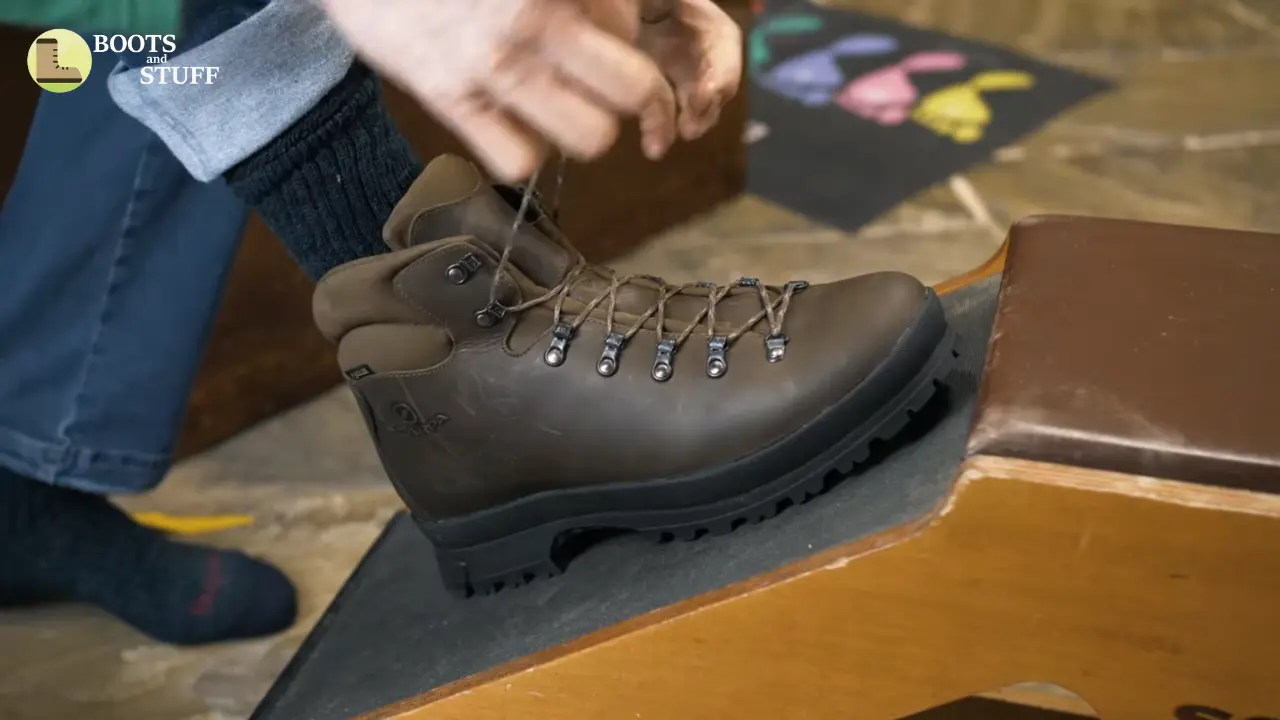
You will now put your preferred hiking shoes to the test in an environment similar to actual hiking. Put on your shoes and go for a short, simple hike in this third phase. You’ll be able to gain insight into your hiking boots and how they perform on different sorts of terrain this way.
In previous stages, we’ve walked around town, gone to the grocery store, the bank, and the office. However, we feel like our boots are still not prepared to undertake a long journey, and if this is the case, I strongly advise you to put on your boots and go for a short hike.
To accomplish this, begin by hiking 2 to 5 miles every day. There’s no reason to carry more weight right now. You only need to observe how your shoes react to different sorts of terrain. This kind of short hike will give you an idea of what to do next.
If you plan to do so, don’t forget to bring water and other supplies for such a short excursion. So, choose a trekking spot and go on a short hike.
Step 4: Hike on Rougher Terrain Gradually

I’ll now tell you about the fourth phase. You’ve already walked around your house in your shoes. You’ve also tried them while you were doing your daily activities, like going to the bank or office. I also mentioned small hikes of two to five kilometers, and you also did that. But what about now?
Essentially, this step should be referred to as a tip rather than a whole step. You will be doing some heavy work in this step. But, in this instance, nothing can be done at once. You must gradually complete several requirements. Those are simple.
When you go on short hikes, try to gradually increase the weight on your back. Take more things and increase your weight compared to the previous hike.
If I want to tell you about the other thing, the amount of elevation rise must be gradually increased. But keep in mind that everything must be done slowly but regularly.
Hiking like this will progressively condition you and your shoes for real hiking. You’ll be ready for the final hike as soon as your shoes fit properly. And this is the final step for new hikers to break in their new shoes.
With beginner hikers in mind, we wrote a guide on the best hiking boots for beginners. If you are a newbie hiker, this blog post will be beneficial for your hiking shoe selections. You can go and read the blog if you want right now.
7 Tips for Breaking in Your Hiking Shoes
I’ve put together a list of seven helpful tips to help you break in your boots quickly. Let’s take a look.
Tip 1: Always Wear Thicker Socks

If you want to break in your shoes yourself, that’s fine, but wearing thicker socks will make the process more comfortable and faster. Because thicker socks will press against the inside of your boot and perfectly stretch them.
They also provide excellent padding. You can wear cotton or wool socks, which will absorb the excessive pressure, and these types of socks will prevent blisters, which is important for a comfortable walking experience.
Tip 2: Sit Down With Your Boots and Take a Rest

If you walk five miles, you will need to rest at some point. After you walk for a long time, the vessels in your legs tend to expand. This usually happens to ensure the proper blood supply to your muscles. For this reason, your feet may swell as soon as you sit down.
So when you walk around your house or on the street with your hiking boots on, sit down and rest, and then start walking again. As a result, you may face these problems. If you find that the difficulty is too much, then you can change your boots. Always remember that boots should fit properly—not too tight, not too loose.
Tip 3: Make Your Boots Wet And Go For A Hike Of 3-5 Miles

When you are out on a trail, your boots are going to get wet. It can be for rainwater or for creek crossings. So, test your boot after soaking it in water and start your short hike of three to five miles. If this creates problems for your feet, then you will have some idea of your boots condition. This will help you get used to being in wet conditions for an extended period of time.
If you feel okay after this controlled condition, your boots are most likely broken. Now, your boots are perfect for a real hike.
Tip 4: Always Lace Your Boots Properly

Lacing your boot properly will reduce irritation on your feet. Keep the proper position of the shoe tongue and tie the shoelace knot. Chafing can be prevented by properly tying your laces. To know the proper way to tie your hiking boot, don’t forget to check out our comprehensive step-by-step How to Tie Hiking Boots guide.
Tip 5: You Can Use a Boot Stretcher

If you find that some specific areas of the boots feel tight, you can use a mild stretching technique. You can insert a boot stretcher directly inside the boot and start expanding it. This will press against the boot and make it slightly looser than before. By doing so, you can break them in properly.
Tip 6: Break in Your Feet
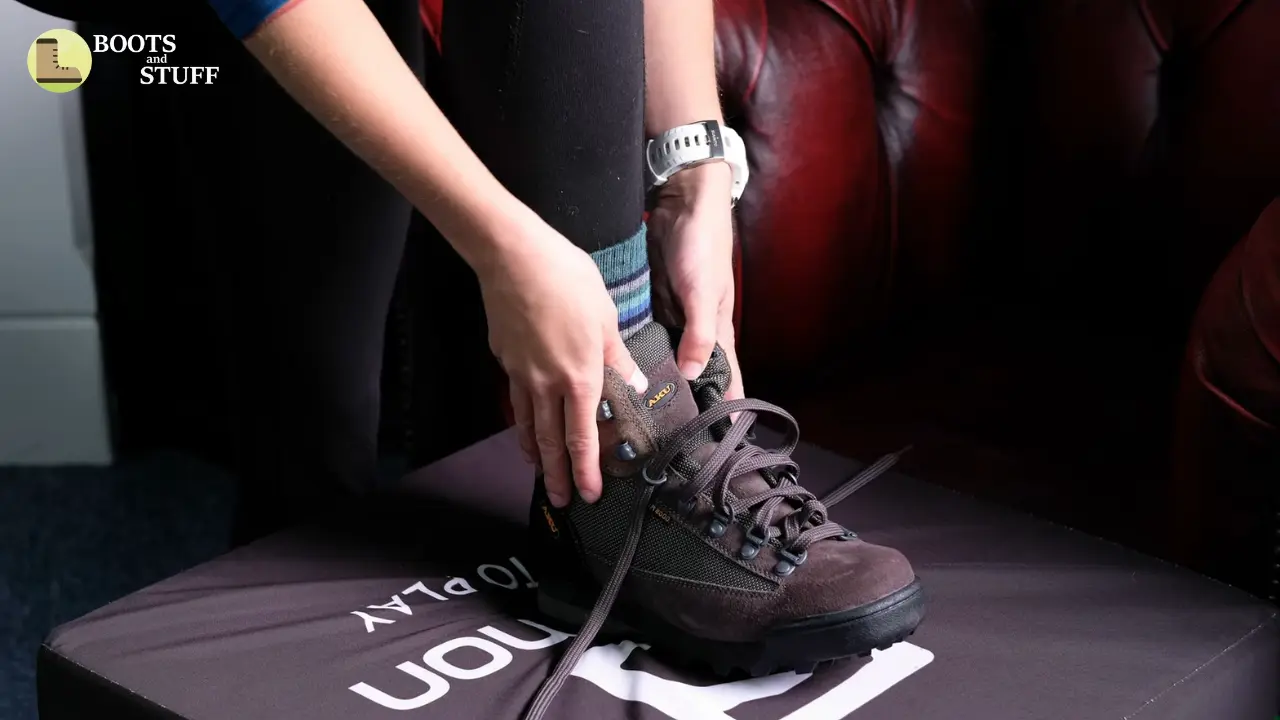
When you put the shoes on your feet, pay close attention to all the places on your feet where you feel the friction of the inner wall of the boot. These are called ‘hotspots’. Wear them according to your feet’s tolerance level. Remove your boots from your feet before you get blisters to avoid an uncomfortable situation. In this way, you can gradually adapt your feet to your newly bought boots very easily.
Tip 7: Use Foot Powder or Anti-Friction Balm

You can apply foot powder or anti-friction balm to areas prone to blisters before heading out. This helps to reduce friction and minimize the chances of developing painful blisters. Foot powders are available in the market, and you can also order them easily online.
Hiking Boots That Don’t Need Breaking In

I tried to keep this part of this comprehensive blog focused on your problem. Hiking boots that are relatively heavy take longer to break in, while hiking boots that are lighter take less time to break in.
For example, Newton Ridge Plus II is made by Columbia but performs quite well in this case. Light in weight and comparatively lower in cost, Ridge Plus II will be quite affordable for you, and breaking in time will be very little.
If your budget is low and you are searching for some of the budget hiking shoes for your journey, then the top hiking boots under $100 blog will be very useful for you. As all the shoes here are fairly lightweight, their break-in time is minimal.
Our experts have tried to suggest the best hiking boots at low prices, which you will find in the above blog.
Frequently Asked Question
How long does it take to break in new hiking boots?
Generally, hiking shoes that are relatively light can take ten to fifteen days to break in. That means it takes approximately two weeks. And those hiking boots that are quite sturdy and heavy can take about a month or thirty days to break in. However, break-in time is highly dependent on how much you use your shoes.
How do you break in new hiking boots fast?
If you follow the steps I discussed in this blog before, you can break in your new pair very quickly. The four effective steps are:
1. Wear your favorite hiking boots around the house.
2. Wear your boots while walking around town.
3. Take your boots on a short hike.
4. Hike on rougher terrain gradually.
Do all hiking boots need to be broken in?
All hiking boots don’t need to be broken in. Break-in time depends on the quality of the boot material. The lighter the boots are, it will take less time to break them in; the heavier the boots are, it will take more time to break them in properly. For example, leather-upper hiking boots will take more time to break in than mesh-made hiking boots.
Are weights good for breaking in hiking boots?
Yes, putting weights on your body will speed up the process of breaking in your new pair of hiking shoes. It is a good idea to gradually increase the amount of total weight.
How far do you have to walk to break in hiking boots?
It depends on the quality of your hiking boots. You may need to walk 7 miles to break in your hiking boots if they are light in weight. For heavier and better-quality hiking shoes, you may need to walk around 15–20 miles. Remember that it is an estimate, not an exact number.
Conclusion
Everything I’ve talked about in this comprehensive guide, I’ve gone through myself. From my boot-breaking experience in the past, I tried to make the process a little bit easier for you. The four steps I explained in this guide are very effective; you may see your boots are broken in the second step.
That’s because every hiking boot does not require the same time. Most boots these days are mesh sneaker types, and they don’t take much time to break in. For leather-made boots, you need some time to get them to conform to your feet. I hope you love this guide, and if you find it really helpful to you, don’t forget to share it on your timeline.


