Undoubtedly, Timberland is one of the best American boot makers around the world, which also manufactures clothes, glasses, sunglasses, apparel, and leather goods. Timberland is mainly known for its outdoor and work boots which come in a number of types.
If you are a fashionista, fashion freak, or just a boot lover, then your closet is incomplete without their iconic yellow Timberland boots, which were mainly created for outdoor work or activities but are now a popular item among fashion critics or just their classic suede or nubuck ones.
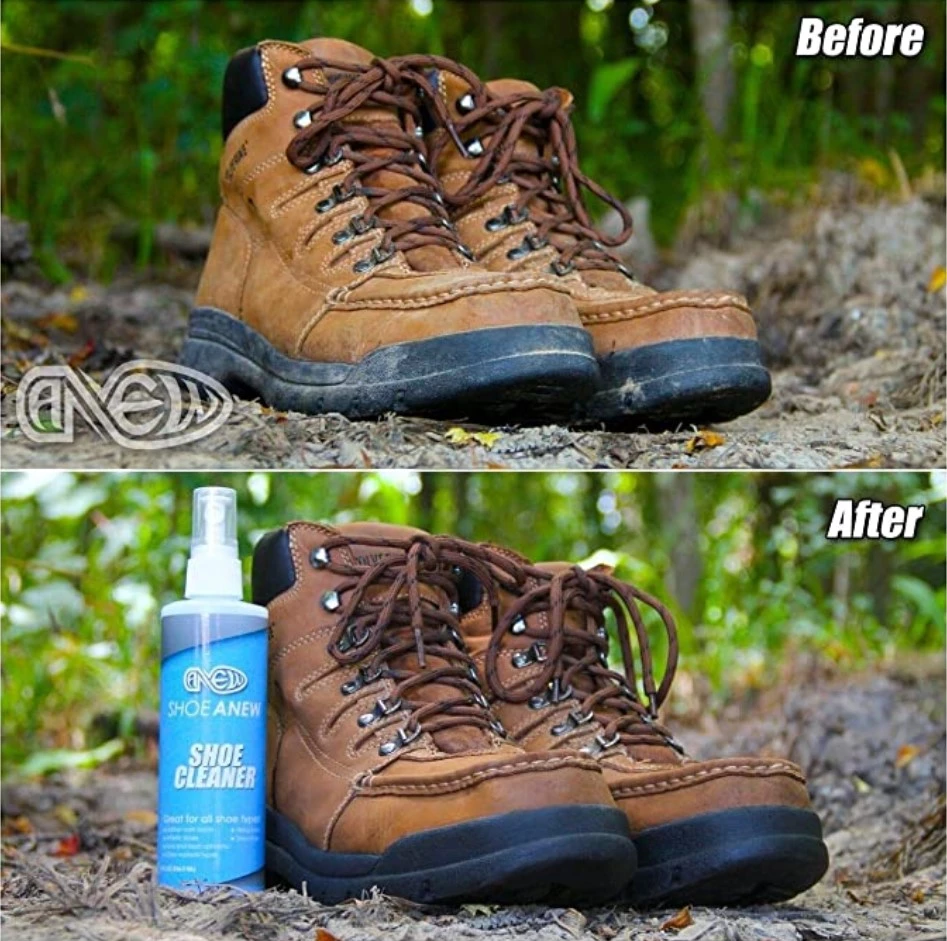
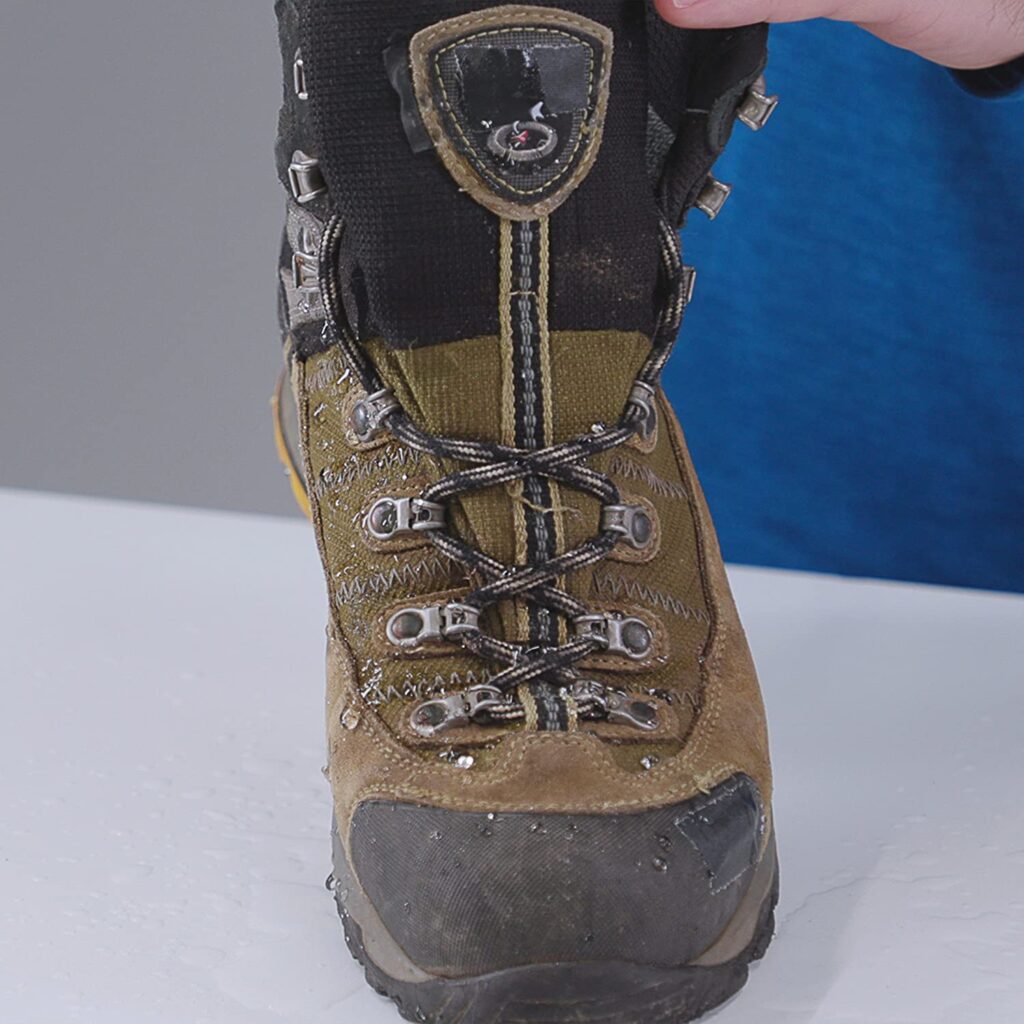
One amazing feature about these boots is that they are waterproof, and it is, of course, very easy to clean following just a number of simple steps.
Whether you are wearing a pair of Timberlands for work or just a symbol of fashion, you need to make sure they are clean and shiny. So, below, I have shared a number of ways to clean timberland boots regularly or monthly, depending on your boot’s state.
Contents
Which Boot Do You Own?
For those who want to make sure your boots are clean if your boot is made out of suede, nubuck, waxed, or oiled leather shoes, then you can easily make your pair new as the first time you wore them out of the box.
You can either use inexpensive items you already have laying around your house or just buy some cleaning kit online that you might just need for a good cleaning if you have that extra care for your boots.
What You Will Need to Clean Timberland Boots?
- Suede eraser, nubuck eraser, or a rubber Sole Brush
- Horsehair Brush or a Rag
- Suede or Nubuck Cleaner or Spray
- Spray Protectors
How do you make sure your Timberland boots are always clean and ready to wear?
Follow these simple steps to Clean Your Timberlands (with a Kit):
9 Easy steps on how to clean timberland boots:
Step One: Cleansing Preparations:
You must first prepare your boots before starting the cleaning procedure, which is quite easy since all you need is a damp towel, a baby wipe, or a microfiber towel to clear off the mud, grime, or any other kind of stain from them before proceeding with the cleaning process.
As part of the preparation procedure, you should also remove your shoelaces at this phase. Let’s go on to the following stage once you’ve cleared away all of the muck or dirt.
Step Two: Removing Stains:
You must remove persistent stains, such as deep dirt or oil stains, before you can proceed. You may use a suede eraser, a nubuck eraser, or a rubber sole brush, and you should be able to complete the task in a blink of an eye or less.
Step Three: Washing up:
You will be giving your whole boot a good shower and also be giving an extra bit of attention by checking every side to make sure there are no stains left out.
Step Four: Application and Cleaning up Procedure:

However, you will need to get a horsehair brush (though the brush is preferable) and use suede or nubuck cleanser, depending on which appearance you choose. The technique is the same regardless of which look you choose.
Rather than spot-cleaning the boot after applying the cleaner, scrub the whole boot in a circular motion. To clean the sole, just use an old toothbrush that you don’t normally use to wipe between the lug soles, then rinse well with water.
Step Five: Deep Cleansing:
You should immediately clear away as much of the cleaner that you can see on the boot as quickly as possible. Hopefully, there are no stains left on your boots at this point, but if there are any, you should repeat the second step and continue the procedure until all stains have been removed from your boots.
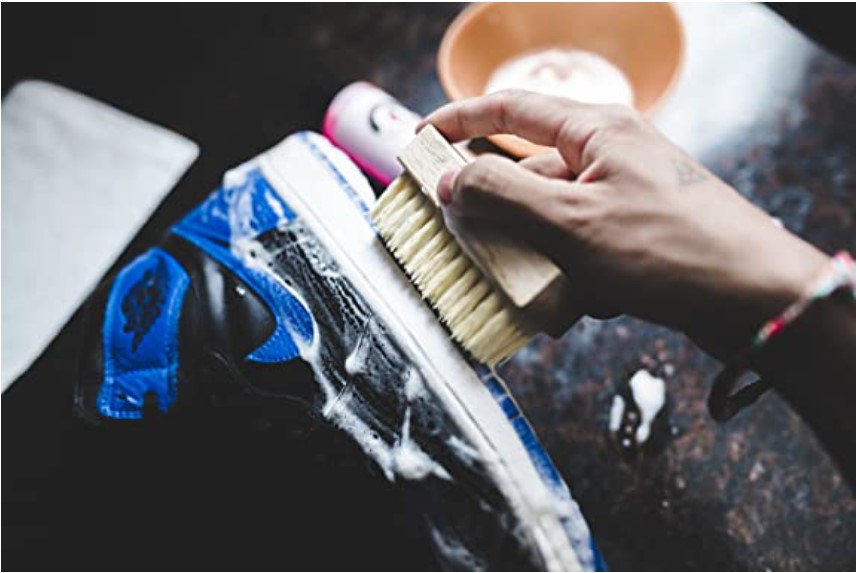
Step Six: Drying up:
After diminishing the stains, you have to let your boot dry for at least 24 hours by the clock, and when dried up, they will look light and refreshing. Buckle up, as it is not the end, but you have just moved on to the next step of your boot-cleaning adventure.
Step Seven: Lets Spray-up :
You can spray-protect your boots with different kinds of protectors depending on what kind of boots you have. For leather ones, you can use cream or wax-based ones, and for nubuck ones, you can just use a spray protector (oil-based).

Step Eight: Brushing Time:
The fact that you will be viewing your Timberlands the way you saw them the first time you pulled those shoes out of the box, with that creamy smooth appearance, will provide you with a lot of entertainment.
However, in order to do this, you will need only a suede and nubuck brush to complete the task. Maintain your focus on the fact that this phase is critical because you must thoroughly remove all of the protections that you have previously put on your body.
Step Nine: Let Your Boots Relax a Bit:
Finally, you will be finishing your cleaning journey just by letting your Timberlands relax for about 12 to 24 hours, and voila, you will be looking at a pair of dashing Timberlands in front of you. But keep in mind that you need to be extra careful while following these instructions, or else you might damage the suede or nubuck.
These steps are basically all you need to know about how to clean timberland boots.
In case you do not own a Cleaning Kit for Your Timberlands,
- How To Clean Stain Using Vinegar & Baking Soda:
One last mention for those who do not own any of these items or kits is that you can use stuff like white vinegar instead of the protector spray, or you can just mix up the baking soda and dish soap in equal amounts and put the mixer in a sprayer to spray on your boots.
- How To Clean with Toothbrush, Towel, or Rugs:
Opposite to a suede and nubuck brush or horsehair, you can use an old toothbrush, towel, or rug, but the result will not be the same and effective. You can also use a clean pencil or gum
Eraser on behalf of a suede or nubuck eraser to clean those stains on your boots. Other things that you can also use are a nail file (either a metal or an emery board), sponge, water, and a newspaper, following the same steps one by one to complete the process.
- Do’s & Don’ts to Clean Timberland Boots
If you own an expensive pair of Timberland, then I suggest that you just spend some bucks to make them last longer and make them look dashing as always. I also urge you not to use any soap items and water to clean your pair of Timberlands as it might just destroy them in a shorter period instead of making them last longer.
There might be some other methods or ingredients that can be used for the cleaning, but I do not recommend it as it might just damage the leather. Well, these are things you should also consider to clean timberland boots.
Boot maintenance should not be a headache.
I recommend that you invest a few dollars and a few minutes to get a cleaning kit from online retailers like Amazon or just go to Timberland’s official website to learn more (www.timberland.com). Continue to follow these simple techniques to make your Timberlands stand out even after you’ve been wearing them for a few years.
We hope we were able to address all of your questions about our guide on how to clean Timberland boots. Please let us know if we missed any important points that should have been included in this article.


