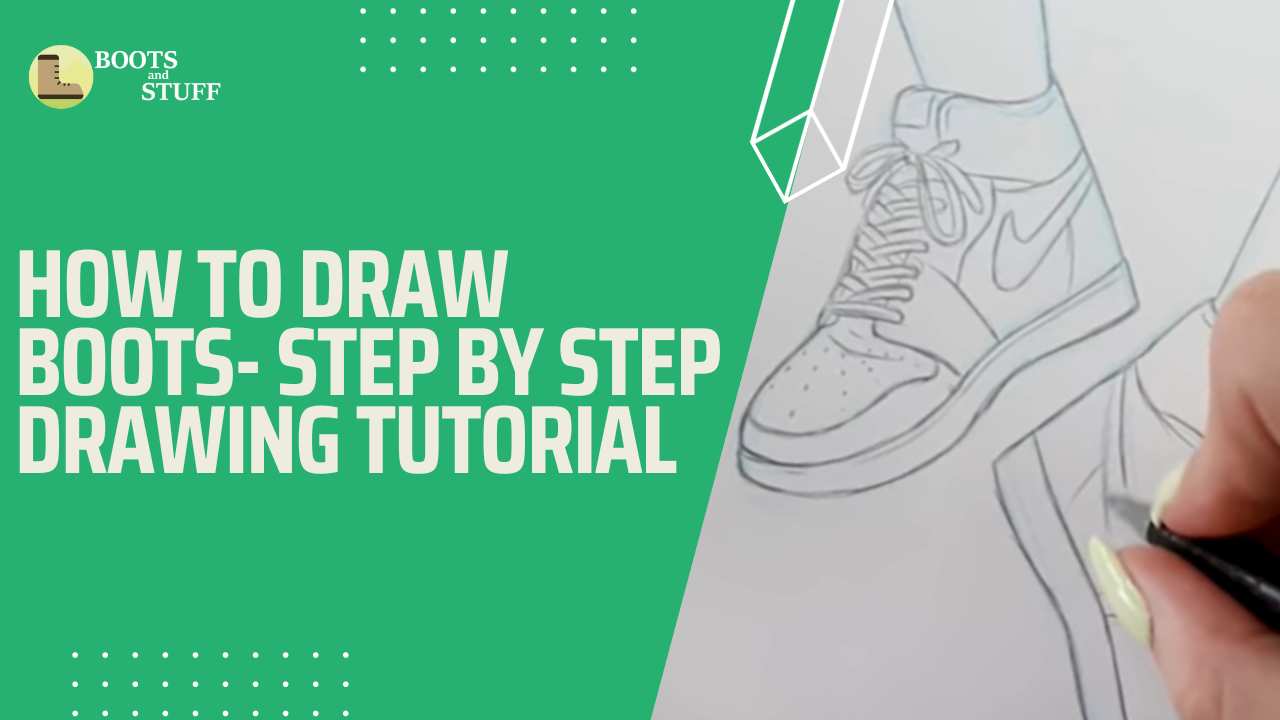
Boots is the most easy and fun endeavor when it comes to drawing. You can enhance your artistic skills. Boots are known for their diverse styles and intricate details. It seems easy, but with a little care for details, you can do it in a better way.
Learning how to draw shoes can be incredibly satisfying, whether you want to draw stylish high heels, tough work boots, or cowboy boots.
In this comprehensive step-by-step guide, we’ll take you through the process of drawing boots, from basic shapes to fine details, so you can bring your footwear creations to life on paper with confidence.
Let’s walk you through the details!
Contents
What Types of Boots Exist?
Before learning how to draw boots, let us first learn what boots are and the types that are most frequently worn.
Boots are a type of footwear that covers the entire foot and the ankles, though some extend all the way down to the calf or even the entire leg. It was specifically designed to shield us from the elements, including cold, moisture, and potentially dangerous industrial products.
There are many distinct sorts of boots that are used for various occasions.
- Hiking boots have flat to slightly raised heels with rounded, pointy-toe boxes to support feet and ankles during outdoor activities.
- Cowboy boots are high-heeled riding boots with rounded or pointed toes.
- Chelsea boots are flat or low-heeled, close-fitting boots with unique aesthetic elements to wear for horse riding.
- Timberland boots have a high cut, round toe, and lug soles for working people to keep them warm, especially for trekking.
- Knee-high boots cover from lower leg to foot and can be flat boots or high-heeled, generally tighter than is for everyone.
- Russian boots, or Valenki, are flat-heeled, wide-topped which is perfect for winter weather.
- Wellington boots are calf-length with seams below the ankle for protection from heavy showers and muddy grounds.
There’s more! But that’s more than enough now! If you want to know more about the boots, you can check out our articles.
What You’ll Need to Draw Boots

When you start your creative adventure or are an aspiring footwear fashionista keeping an eye on the latest trends, the art of boot sketching knows no bounds. At first, you need to sketch it out and then illustrate it. So here, you need nothing more than a sheet of paper, a trusty pencil, and an eraser to embark on a journey of self-expression through boot design. You may even add other colors to the designs once they have been completed.
No matter what style of boots you design, three common components must be included, e.g., soles, uppers, and leggings. We will demonstrate the procedures involved in sketching Hiking boots in particular.
Before walking through this tutorial, you’ll need to know what you’ll need to draw boots, such as-
- White Drawing Paper
- Pencil and Eraser
- To measure every single line, use a ruler
- Inspirational reference images for sketching it right
- Colors
Now it’s time to move toward drawing hiking boots.
Which Drawing Method is The Best to Draw a Boot?

The grid with hatching method is the best drawing technique for sketching boots. With the grid, you can sketch the boots accurate measurements. It essentially assists you in dividing the subject matter into smaller parts, making it easier to sketch with the proper angle and add shadows.
When you use colors for hatching alongside a grid, the picture comes to life. Because boots have so much detailing, you must use the highlighter to add detail to your art. That boosts your confidence in drawing, whether you are a beginner or experimenting. The more methods you try, the better your understanding of advanced drawing will be.
Drawing is a skill that requires dedication and consistency to improve. However, if you panic at the start, the rest will never go as planned.
So keep calm, and now it’s time to move on to the most anticipated part!
How to Draw Hiking Boots

Hiking boots are worn for outdoor activities. When you draw hiking boots, you need to be careful about their details. Hiking boots typically have a high ankle and thick, lugged soles.
Here is the step-by-step guide that should help you draw amazing hiking boots:

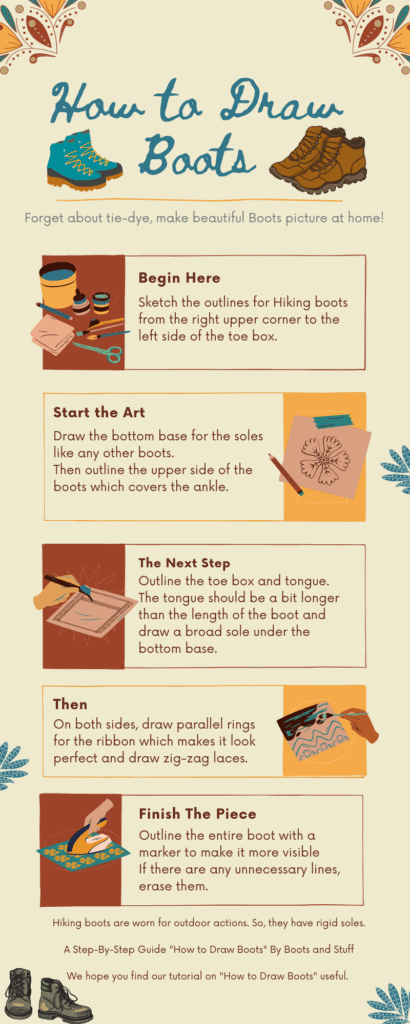
Step – 01: The shape and size are wider for hiking boots, so from the right upper corner to the left side of the toe box, sketch the outlines for them.
Step – 02: Draw the bottom base for the soles like any other boot.
Step – 03: Outline the upper side of the boots, which covers the ankle.
Step – 04: Outline the toe box and tongue. The tongue should be a bit longer than the length of the boot.
Step – 05: Draw a broad sole under the bottom base.
Step – 06: On both sides, draw parallel rings for the ribbon, which makes it look perfect.
Step – 07: Add zig-zag laces
Step – 08: Outline the entire boot with a marker to make it more visible.
Step – 09: If there are any unnecessary lines, erase them.
Note: While drawing boots, pay close attention to the entire sketch, highlighting the textures, details, and curves that will undoubtedly make it look realistic.
Final Thoughts
Drawing boots is not a tough chore. Initial practice should be done on paper, and then, after you have learned the fundamentals, you should go to using professional tools to design your final product.
We hope that our “How to Draw Boots” tutorial will be helpful to you.


